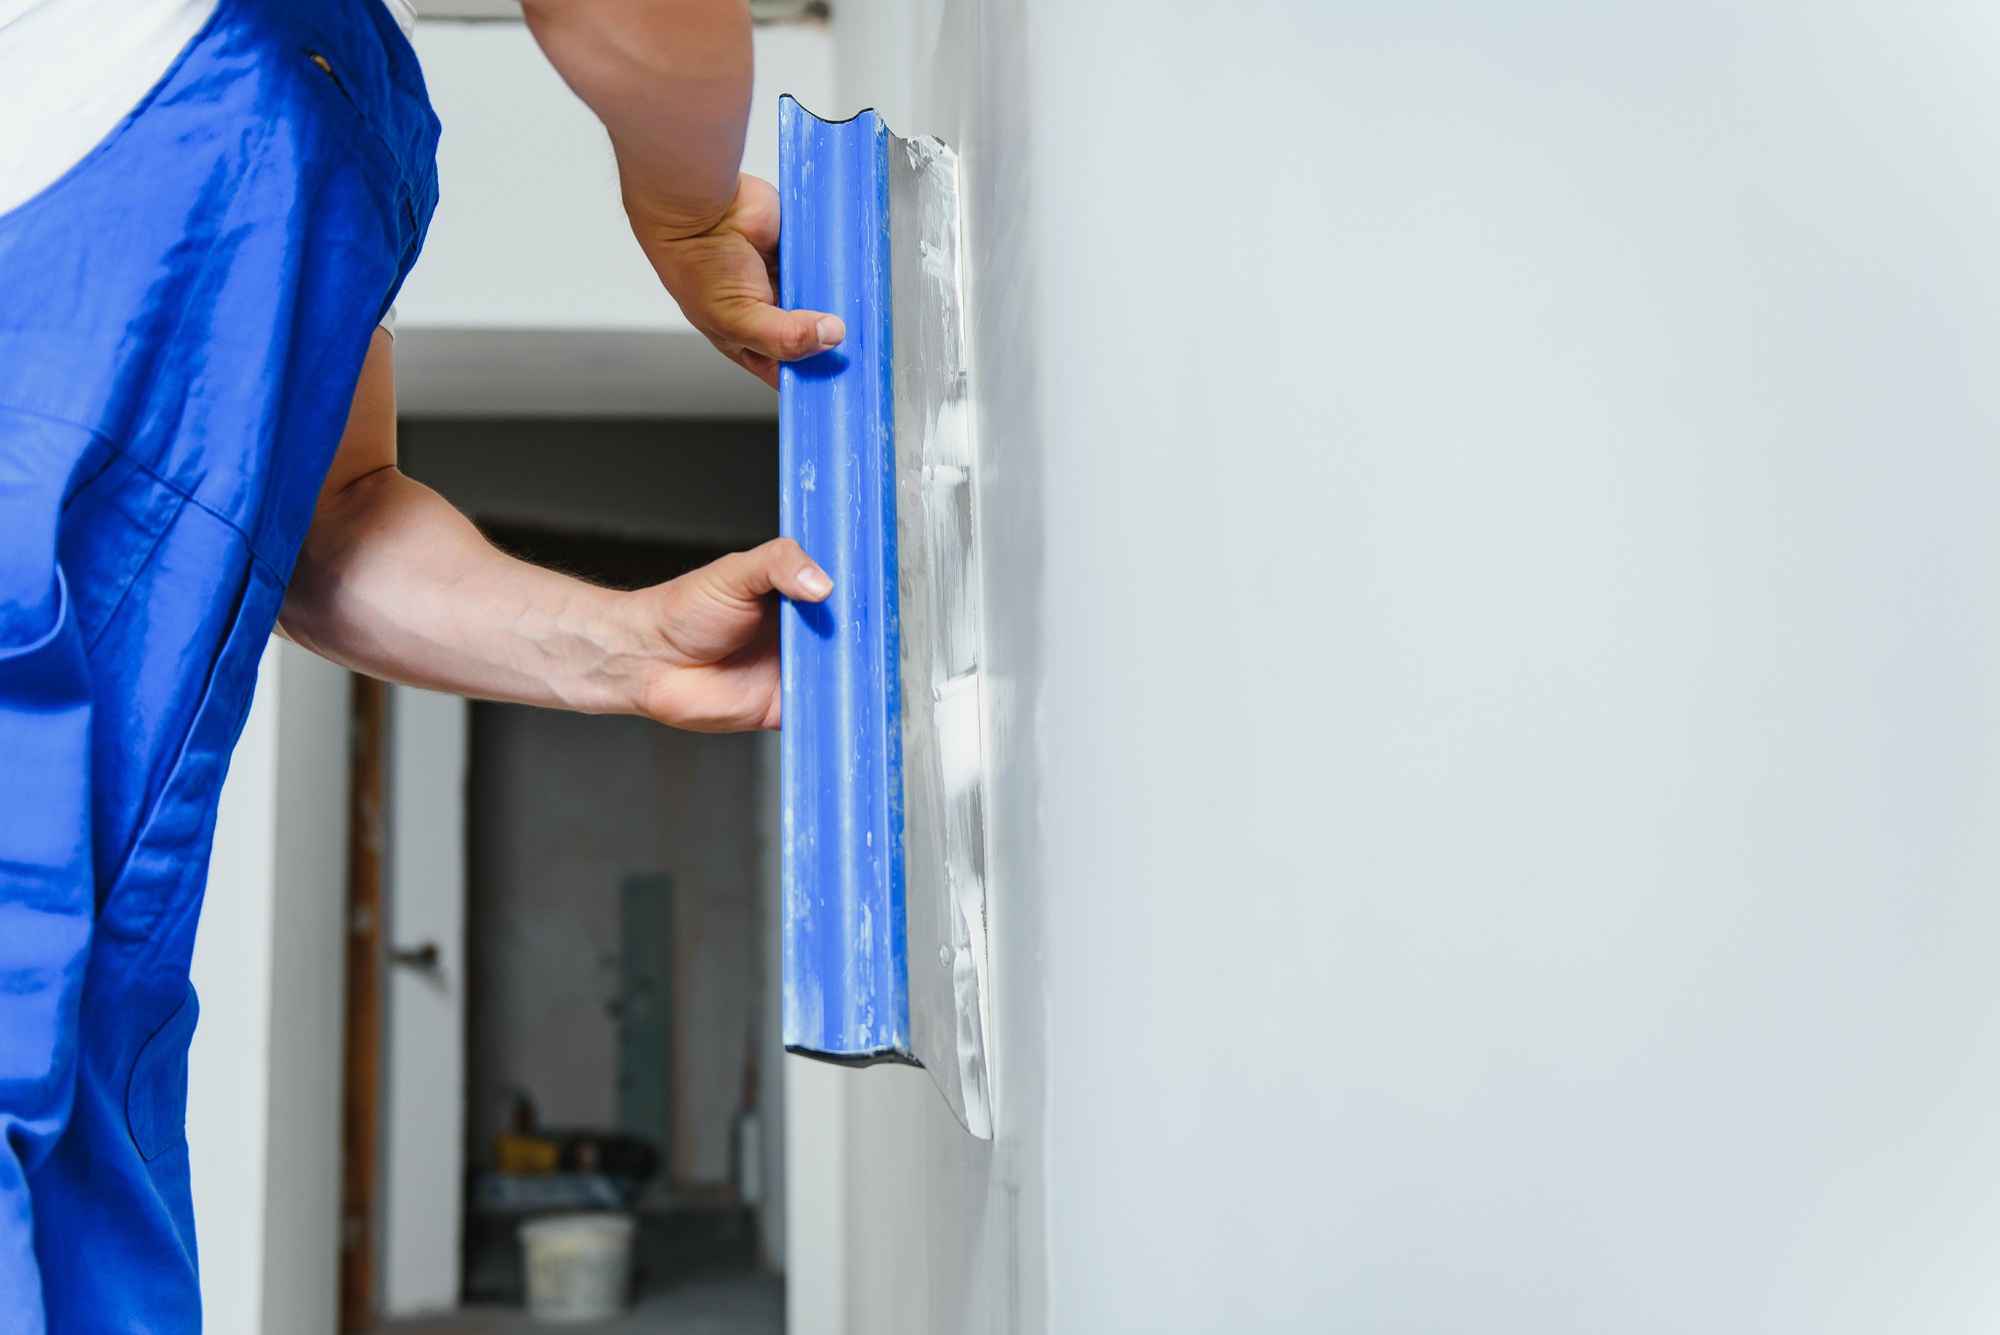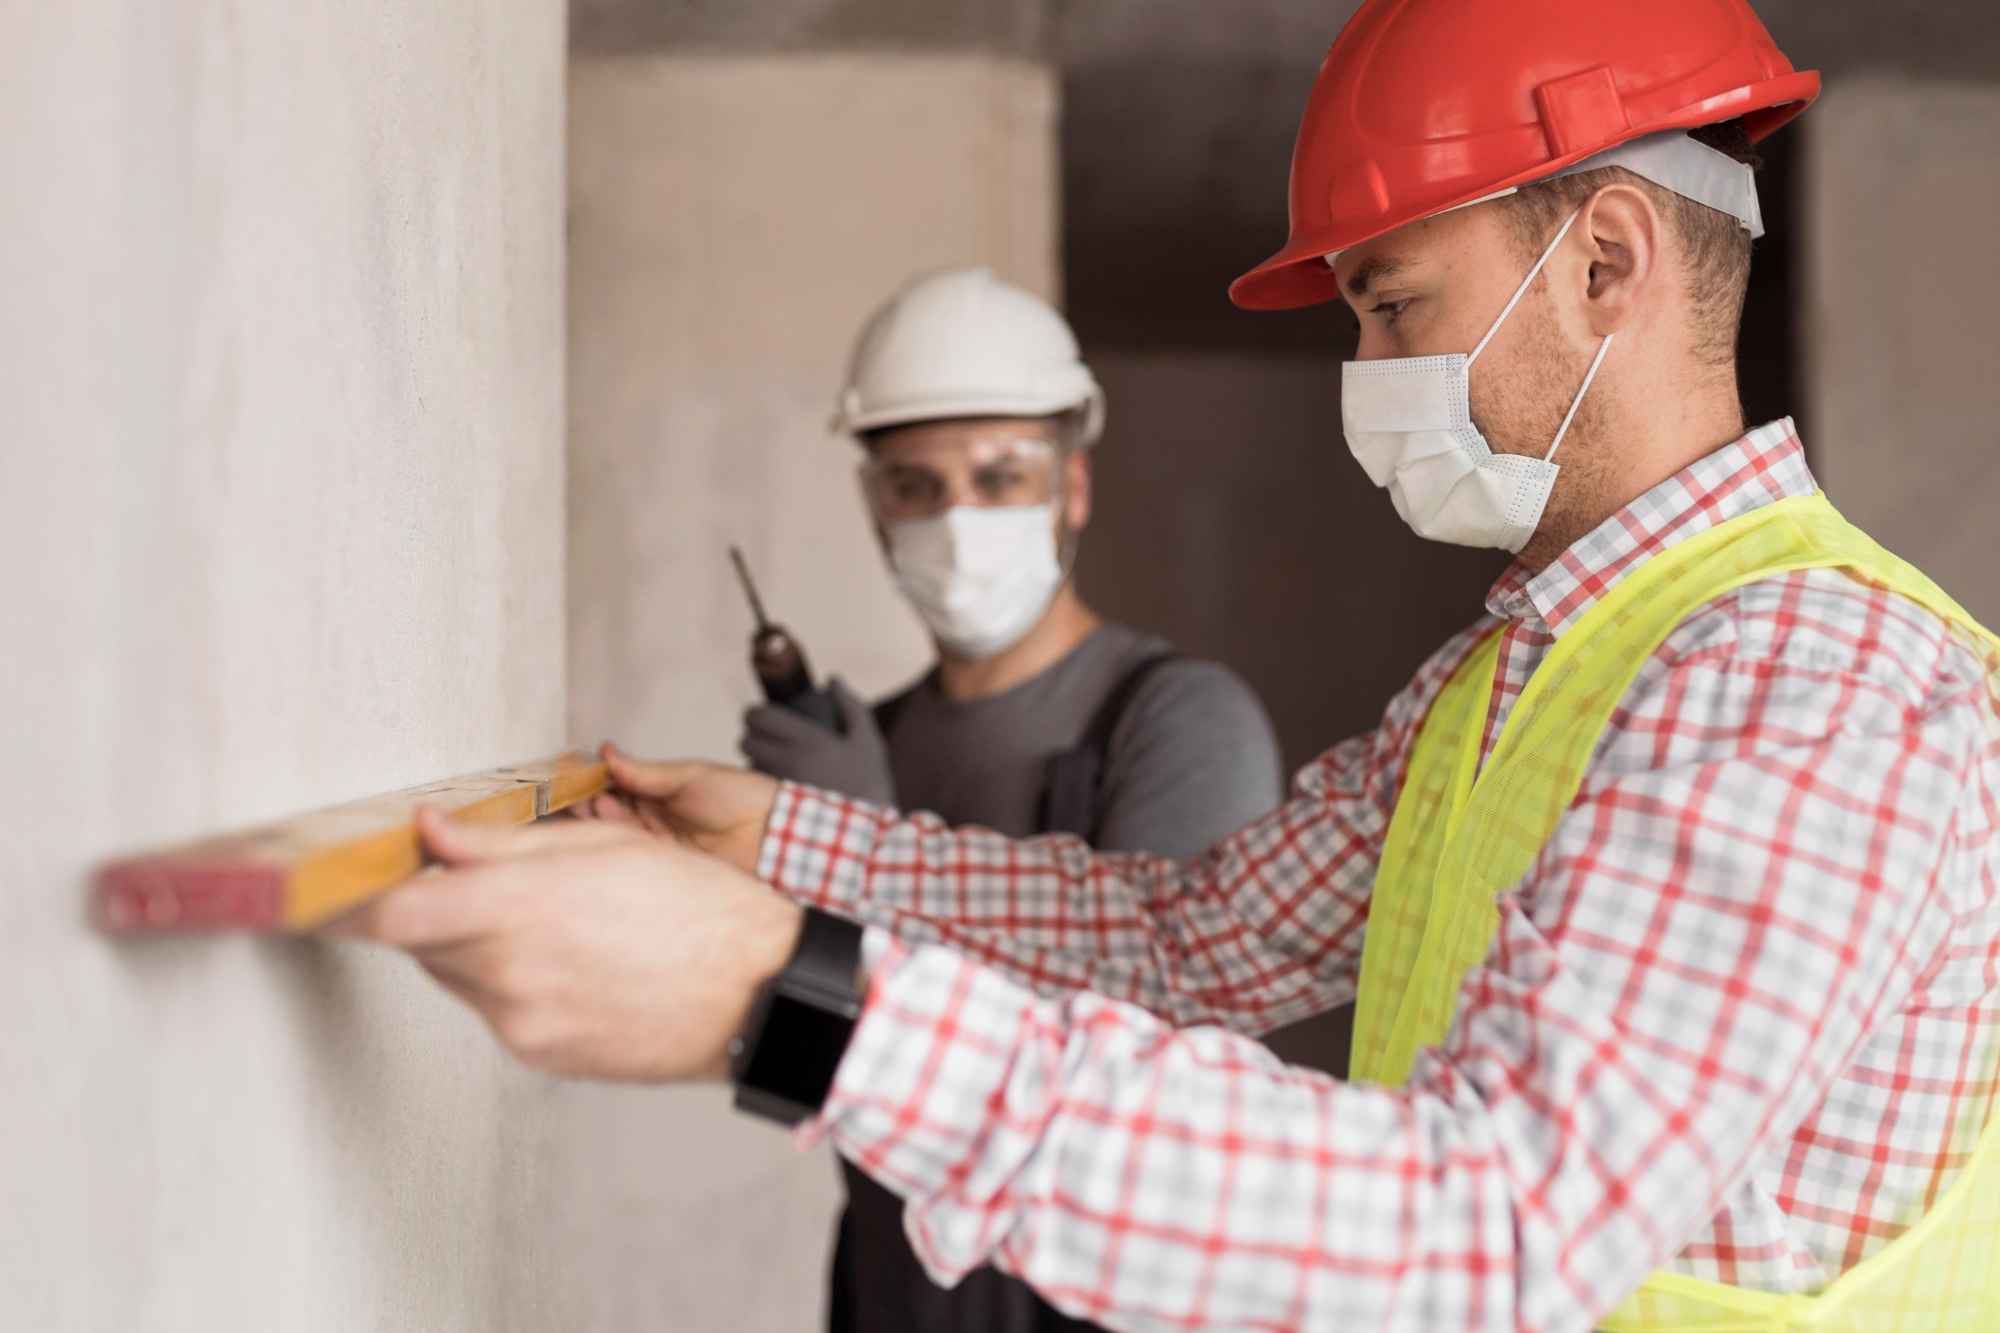
Homeowners and DIY enthusiasts often focus on how the plaster looks. However, one crucial aspect frequently gets overlooked: proper surface preparation. Proper surface preparation is vital to the success of your plastering project. Neglecting this step can lead to unsightly cracks, peeling, and an uneven surface that detracts from your hard work.
Taking time to prepare surfaces correctly ensures better plaster adhesion and enhances durability. Whether working with new drywall, old plaster walls, or tricky surfaces like brick or concrete, understanding how to prep properly sets the stage for success. Let’s dive deeper into why investing effort in surface preparation is essential for achieving flawless results every time you plaster!
To prepare a surface for plastering, clean the wall well and remove any dust, grease, and old paint to improve plaster adhesion. Then, look for cracks or uneven spots and fill them with a filler to smooth the surface for plastering.
Consider applying a bonding agent if you are working on porous surfaces like brick or concrete. This helps the plaster in sticking better and prevents moisture from entering the mix while it dries. Good surface preparation is one of the most important keys to successful plastering.
Proper surface preparation is vital for achieving a smooth, long-lasting plaster finish. Here is the step-by-step guide to the process:
Clean the Surface: First, clean the surface by removing dirt, dust, grease, and loose materials. You can use either a brush, vacuum, or cloth.
Repair Any Damage: Take a moment to check the surface for cracks, holes, or imperfections. If you find any, don’t worry— fill those areas with a suitable filler or patching compound and let them dry completely.
Moisten the Surface: Gently dampen the surface with water. This helps prevent the plaster from drying out quickly and ensures that it sticks perfectly.
Apply a Bonding Agent: Depending on the surface material, a bonding agent may be necessary to enhance adhesion, which is exclusively vital for non-porous surfaces.
Check for Level and Flatness: Ensure that the surface is even and smooth. Utilise a straight edge for checking high or low spots, and make modifications as needed by adding or removing excessive material.
Prepare the Plaster Mix: While mixing your plaster, it is essential to follow the instructions provided by the manufacturer for the correct proportions and right mixing technique.
Ready for Plaster Application: Once the surface is cleaned, repaired, moistened, and levelled, it is prepared for plaster application.

Different types of plaster require specific surface preparation techniques to ensure a successful application and maximise the durability of the finish.
Before applying traditional lime plaster, clean the surface well to remove any dirt or dust that could interfere with adhesion. After cleaning, lightly mist the area with water or use a damp sponge to wet it slightly. This helps the plaster stick better and controls how quickly it dries, which can stop it from hardening too fast and cracking.
When preparing for gypsum plaster, a smooth and dry surface is essential. It is crucial to thoroughly remove any residual dust, grease, or loose particles from the substrate, as these can weaken the bond between the plaster and the surface. For porous substrates, applying a primer can greatly improve adhesion. The primer creates a more uniform surface, preventing the plaster from being absorbed unevenly, which can lead to flaws in the final finish.
Cement-based plasters require a rough texture for optimal adhesion. To prepare the surface, ensure it is thoroughly cleaned to eliminate dirt. Lightly dampening the surface before applying the plaster can also enhance bonding. The moisture helps the plaster adhere more effectively, resulting in a stronger finish.
Each type of plaster has unique needs that, if overlooked, can lead to unsatisfactory results. Understanding and adhering to these preparatory steps is essential for achieving optimal results in any plastering project.
Preparing the surface properly boosts plaster adhesion and helps achieve a beautifully smooth and long-lasting finish. Inadequate bonding can lead to problems such as cracking or peeling, which this preparation stage helps prevent. There are multiple benefits to surface preparation for plastering.
Surface preparation is crucial in ensuring proper plaster adhesion to the substrate. Cleaning, repairing, and priming the surface removes contaminants or loose particles, providing a clean and stable surface for the plaster to adhere to.
Preparing the surface before plastering helps create a smooth finish to which the plaster can adhere. This improves the finished product’s overall aesthetic appeal and makes it easier to paint or decorate the wall.
A well-prepared surface guarantees no weak spots or areas of insufficient adhesion, which can result in cracks or plaster peeling over time. This is specifically crucial in high-moisture areas where water may infiltrate and cause damage.
Plaster applied to a well-prepared surface has a stronger bond, making it more durable and long-lasting. It also resists wear and tear better, reducing the need for frequent repairs or touch-ups.
Proper surface preparation may take some time and effort initially, but it can save you money later by preventing costly repairs. It also ensures the plastering job is done correctly the first time, avoiding the need to redo it.
Preparing the surface by filling in cracks or holes and applying a primer can also improve insulation properties, resulting in energy savings and a comfy living space.
Different types of plaster are suitable for different types of surfaces for proper adhesion. Preparing the surface beforehand ensures that your chosen plaster will adhere correctly and provide the desired results.
A well-prepared surface provides a professional finish to the plasterwork. This is especially imperative if you have a plan for selling or renting out your property, as it adds value and makes it more attractive to potential buyers or tenants.
Proper surface preparation is key to a successful plastering project. It sets the stage for a smooth, long-lasting finish that helps your work last. By carefully preparing walls, you can avoid common problems like cracking or peeling.
Understanding that different surfaces require different preparation techniques for plastering can improve your results. Whether you’re working with drywall, brick, or previously painted walls, each type has its own challenges. The benefits are clear: better adhesion, greater durability, and a more professional look, which can greatly influence plastering results. Remember to prioritise preparation; it’s not just an extra step but a vital part of achieving quality results in plastering endeavours.
Copyright © 2025 Judge Plastering. All Rights Reserved.